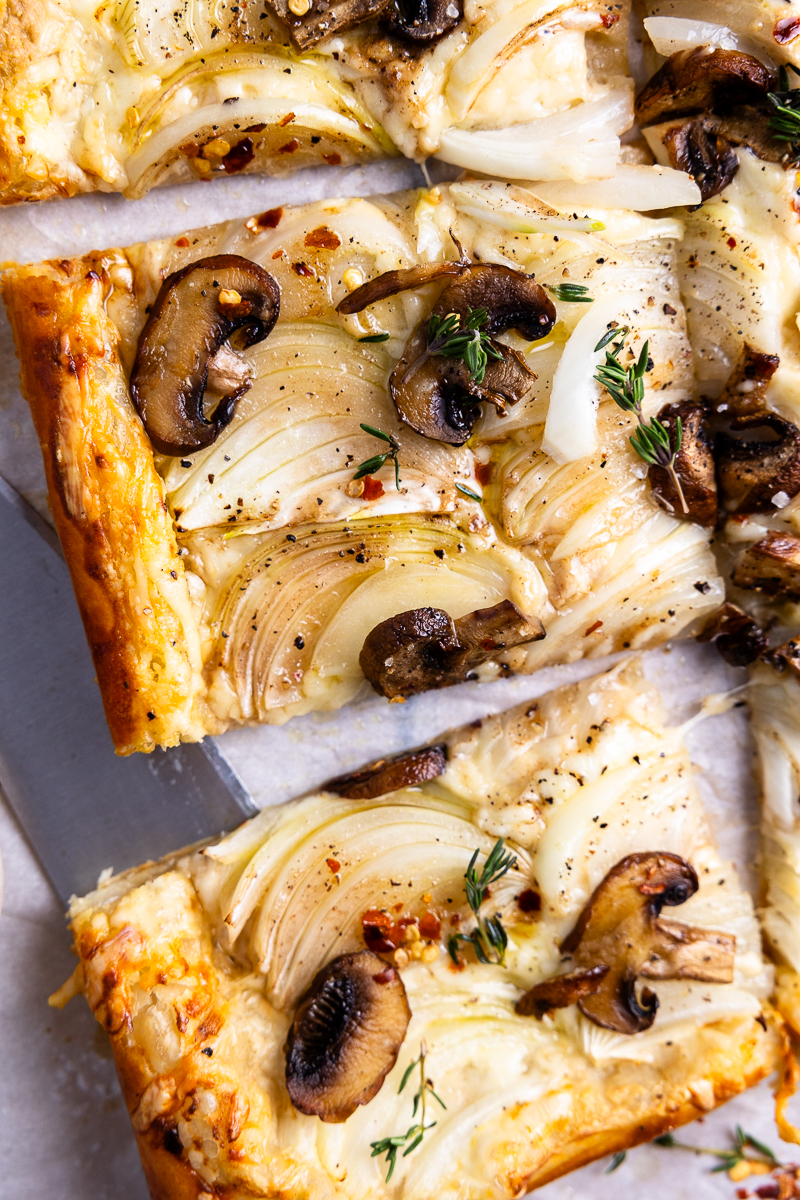
Delicious mushroom and onion puff pastry tart that tastes just as amazing as it looks! Golden brown puff pastry topped with savory French onion dip, pools of melty white cheddar cheese, and perfectly cooked onions and mushrooms. Perfect for a holiday gathering or a casual get-together and can be served with dinner or brunch.
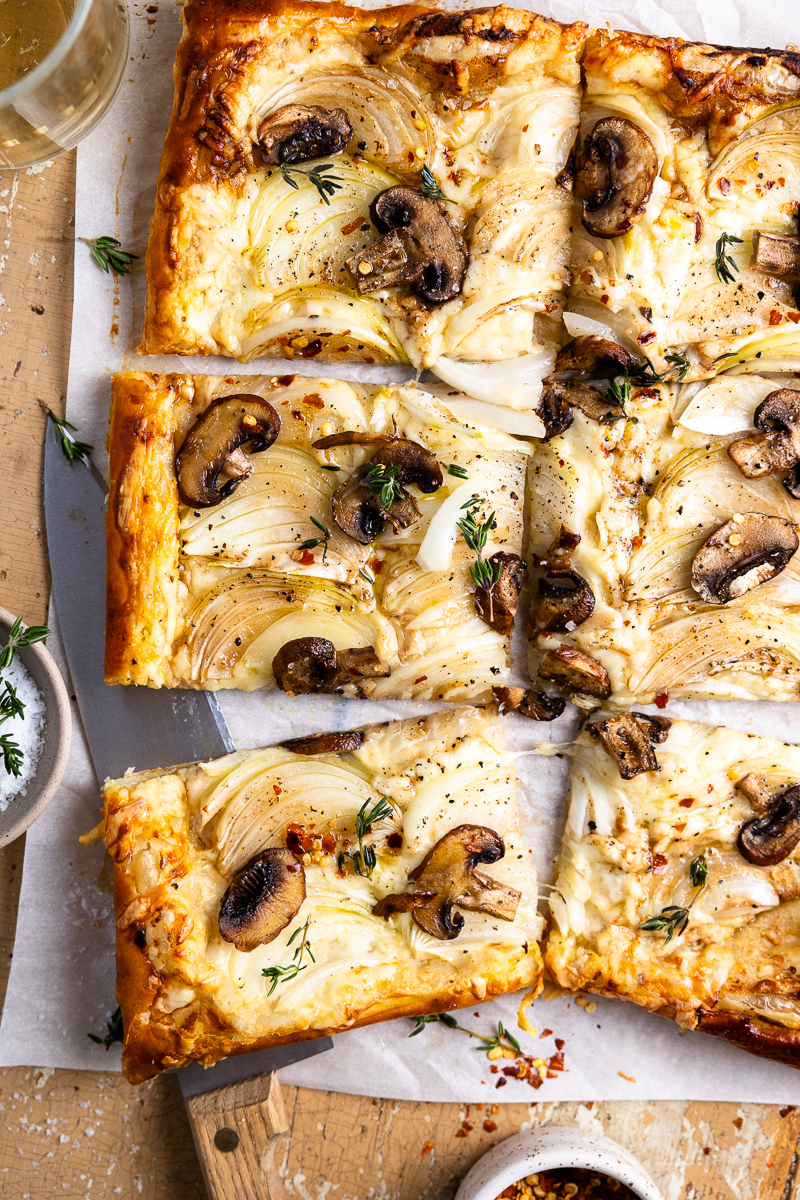
I've received lots of rave reviews about this onion and mushroom puff pastry, even as reheated leftovers! It's super flavorful and incredibly easy to make! It's like French Onion Soup meets pizza but in puff pastry tart form. I can't get enough of it.
Even more so, it's delicious any time of day! My parents were eating the leftovers from the night before for breakfast with eggs! If you're an onion fan, this is an absolute must-make.
And if mushrooms aren't your thing, just skip them!
Why you'll love this onion puff pastry tart
- The easiest onion puff pastry. Only 15 minutes of prep time and the onions do not need to be caramelized on the stove before baking! The onion and mushroom soften up perfectly in the oven while baking.
- Lots of flavor. I like to spread a thin layer of French onion dip all over the puff pastry before adding the toppings! It's my "secret" ingredient that really enhances the flavor!
- Perfect for any occasion. This puff pastry tart looks just as delicious as it tastes. It's perfect for a holiday gathering or a casual get-together. It can be served at brunch or as an appetizer before dinner.
- Cheesy deliciousness. It's like French onion soup in tart form!
Ingredients
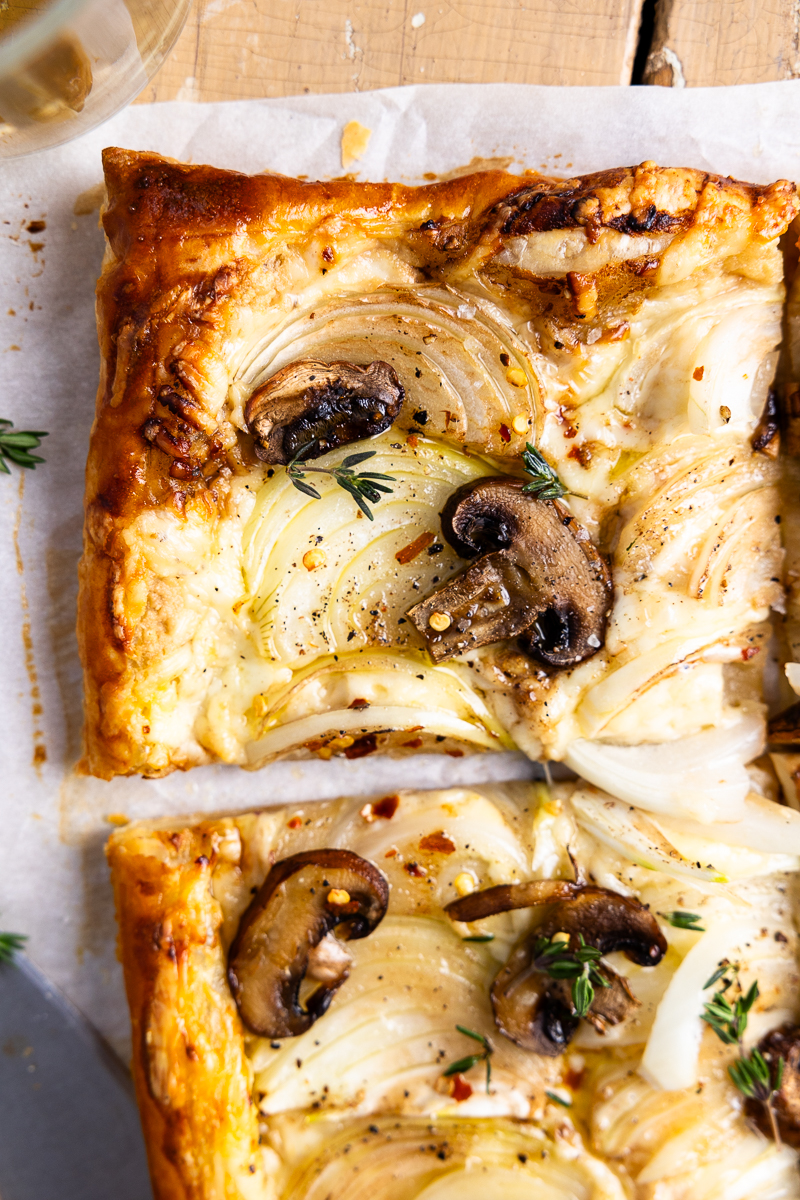
The ingredients needed to make my onion tart puff pastry are pretty simple! You likely have most of them in your pantry or fridge already.
- Puff pastry
- French onion dip (I like to use Old Home)
- White cheddar cheese
- Yellow onion
- Baby Bella mushrooms
- Olive oil
- Balsamic vinegar
- Red pepper flakes (optional)
- Salt and pepper
- 1 egg
- Fresh thyme (optional)
How to make this delicious onion puff pastry
What I love about this onion puff pastry tart is that it only takes 15 minutes to throw together before baking and doesn't require you to caramelize onions on the stove or do excessive prep work. Roll out the pastry, add your ingredients, and bake! Here's an overview.
Scroll down to the recipe card for the full instructions.
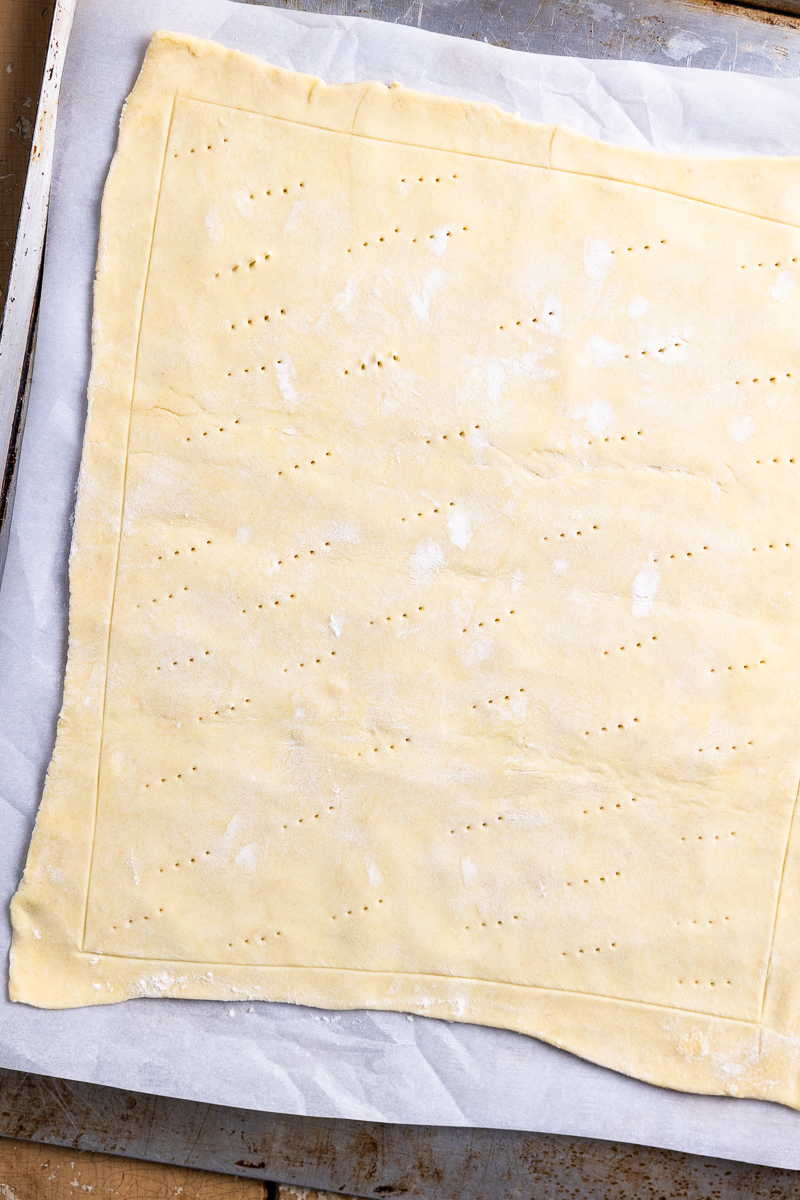
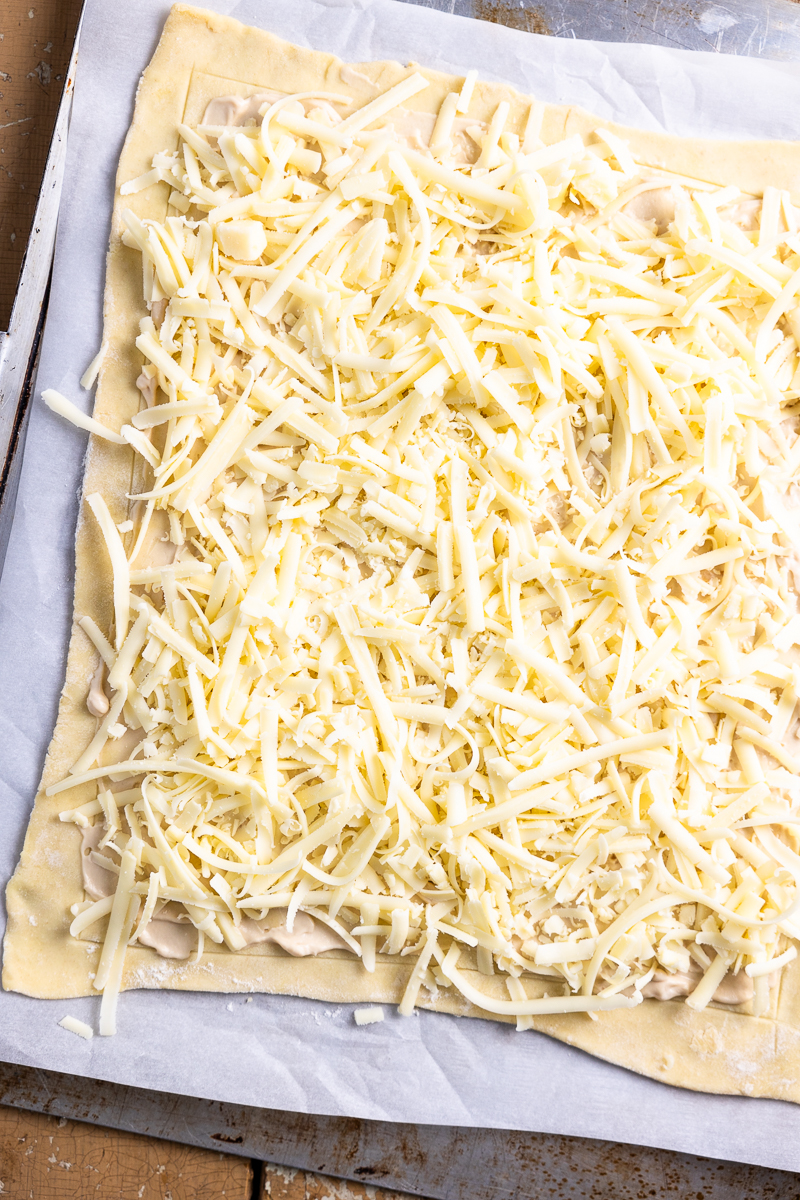
- Step 1: Roll out the puff pastry. I like to roll the pastry out into a slightly larger rectangle so you can serve more people! Using a knife, you'll then score the edges by cutting ½ inch from all the edges, but not all the way through the pastry. This allows the edges of the pastry to puff up while baking. I also like to prick the pastry all over inside the score line with a fork to help prevent air bubbles from popping up while baking.
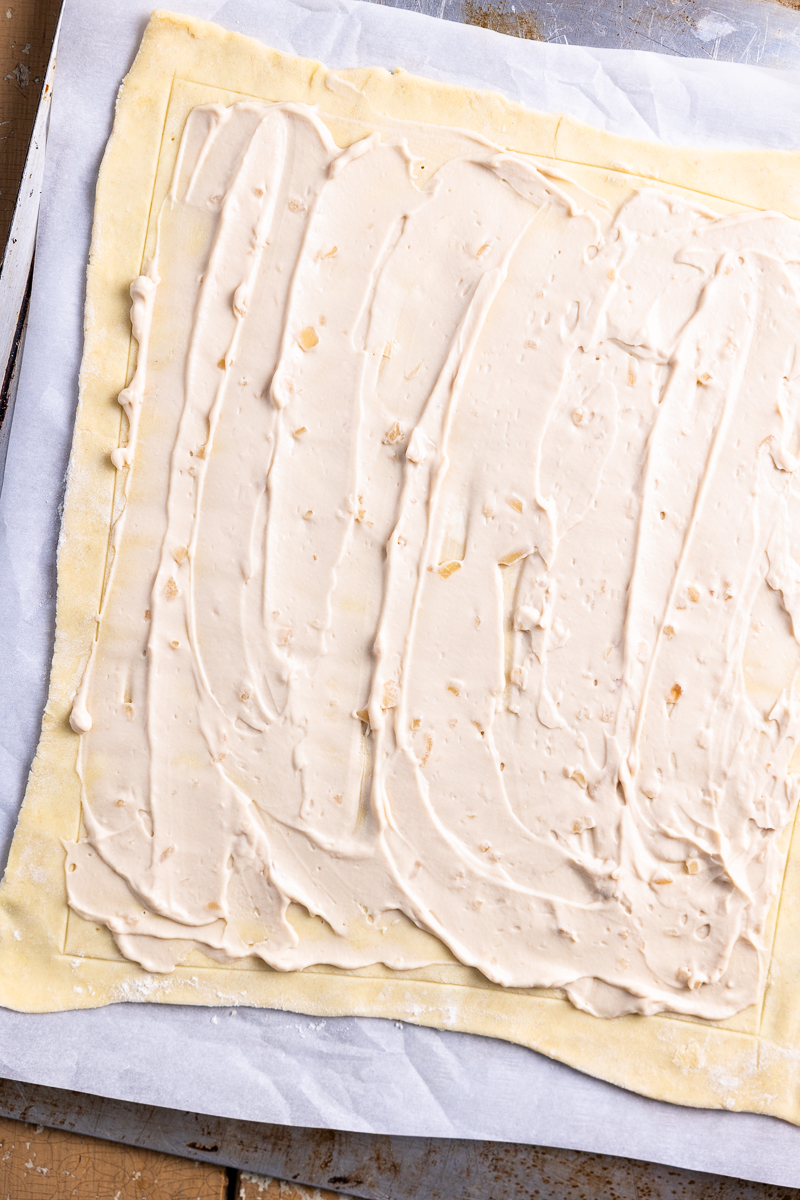
- Step 2: Spread with French onion dip. This is key and really sets this tart apart from others! The dip adds lots of flavor and drives home that savory onion flavor.
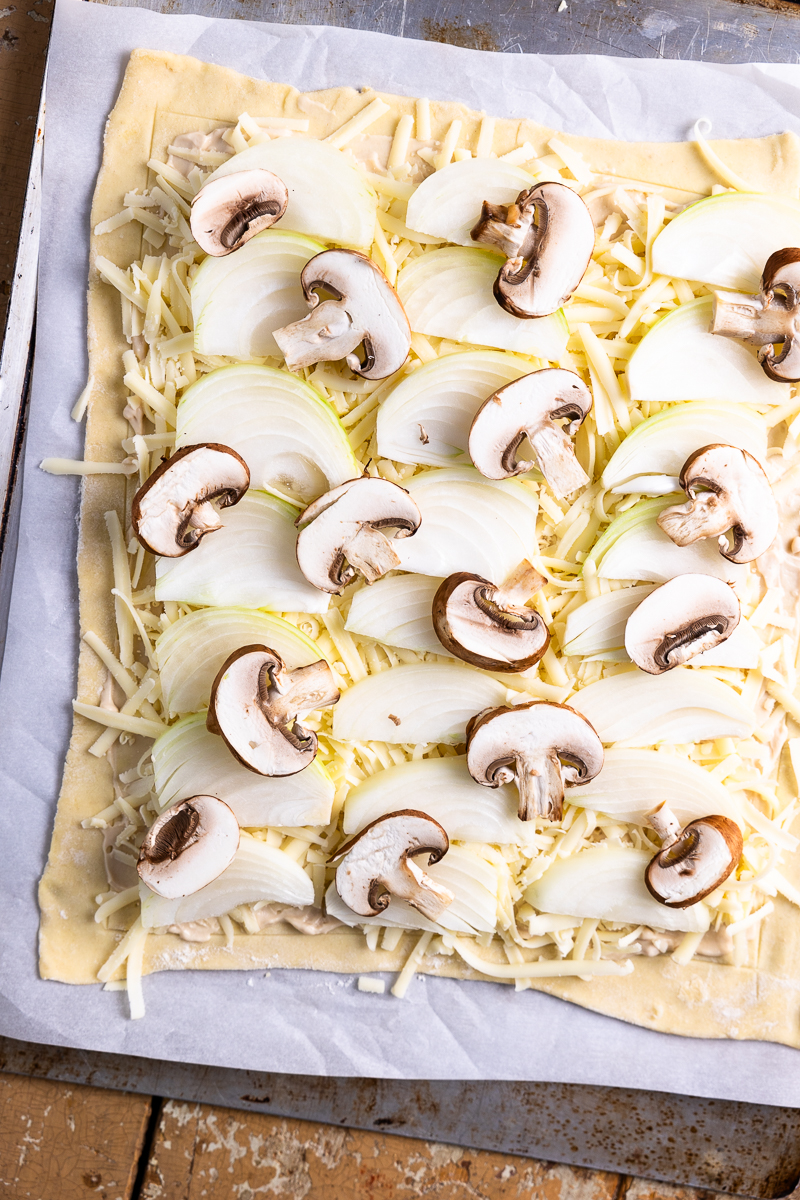
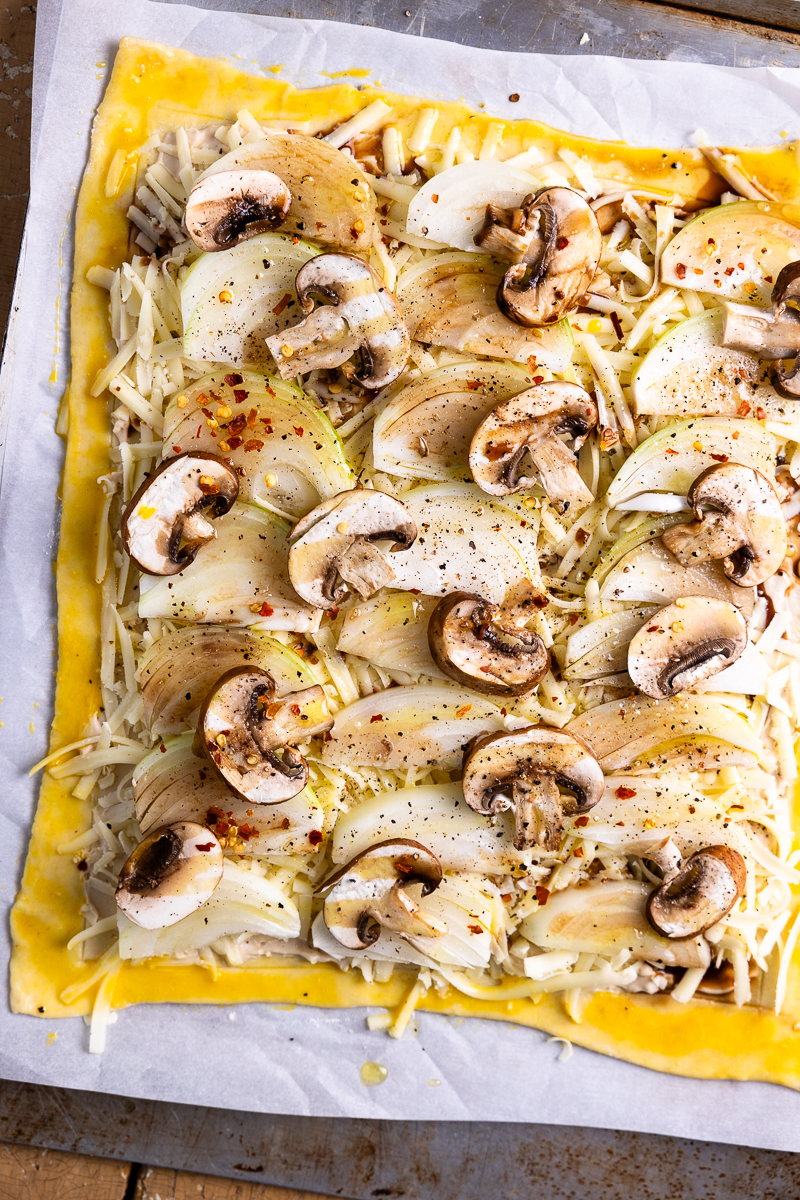
- Step 3: Add the toppings. Sprinkle with lots of white cheddar, then top with thinly sliced onion and mushroom. Finish with a good drizzle of olive oil and balsamic vinegar. I don't measure this, but I'd say a couple tablespoons of each. Add red pepper flakes (if you like a little spice), salt and pepper.
- Step 4: Egg wash. Beat an egg, then brush the egg on all edges of the puff pastry. This is what gives you those pretty golden brown edges!
- Step 5: Transfer to the oven and bake until the onions are soft and the puff pastry is golden brown around the edges.
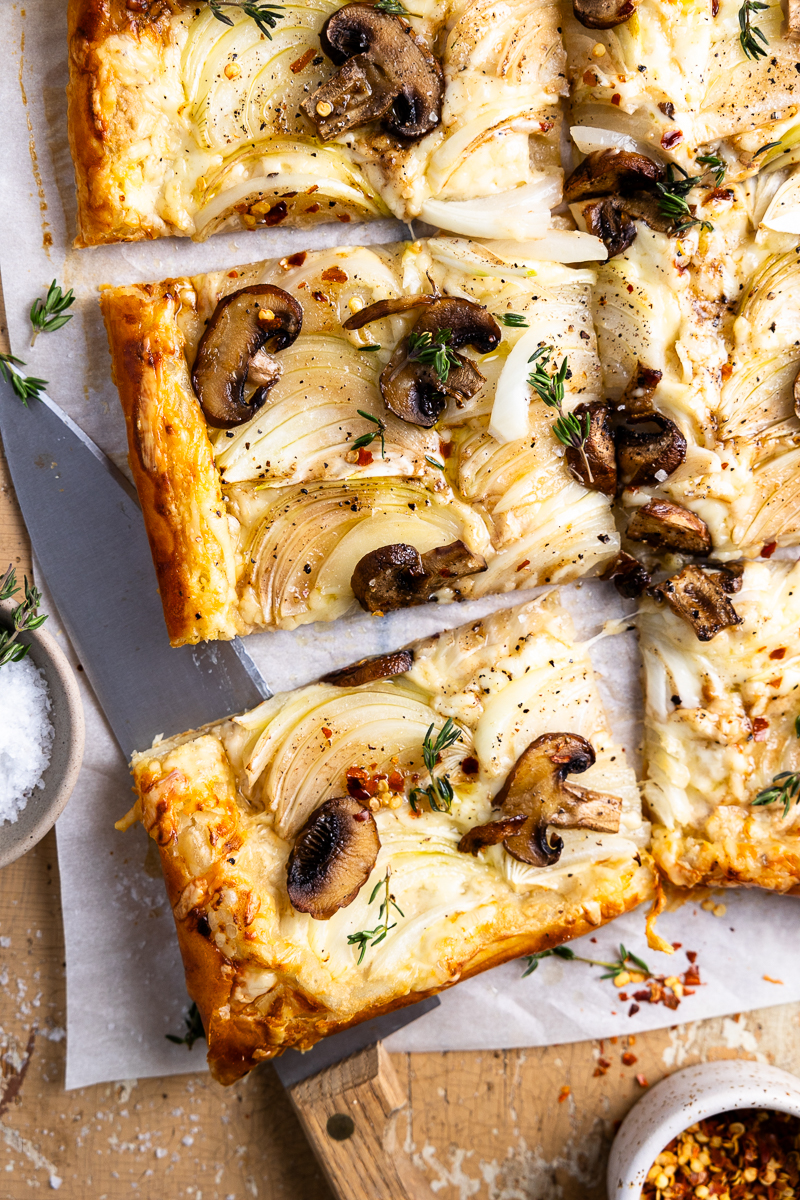
- Step 6: Slice and enjoy! I like to cut into 6 larger slices or 8 smaller slices (this ensures you have a piece of the crust on all pieces), but you cut into whatever size works for you and your guests!
Tips & tricks.
- Prep your ingredients before you start working with the puff pastry. Shred the cheese and slice the onions and mushrooms before you remove the pastry from the fridge. The pastry is easiest to work with when it's cold and cold pastry will also give you the best rise.
- How to get a pretty presentation with the onions. I like to cut the onion in half lengthwise through the root. Lightly trim off the ends, but just enough to cut off the root and stem while still keeping the onion mostly intact. Then thinly slice the onion lengthwise. For the most part, the slices will hold together.
Frequently asked questions
How do I thaw puff pastry?
The best way to thaw frozen puff pastry is in the fridge! 1-2 nights before you plan to make the tart, remove the puff pastry from the freezer and place it in the fridge to thaw. You can thaw at room temperature but keep an eye on it because you don't want the pastry to get warm. It's much harder to work with when it's warm and sticky, plus it won't rise as well when baking.
Can I make this tart ahead of time?
Yes! This is an excellent make-ahead appetizer. You can prepare the entire puff pastry up to 2 days ahead of time. Roll out the pastry, transfer to a parchment-lined baking sheet, and add all your toppings. Cover tightly with plastic wrap and then tinfoil to keep the pastry from drying out. Hold off on doing the egg wash until right before you bake.
Can I use a different type of cheese?
Definitely! Feel free to mix it up and experiment. Gruyere, provolone, parmesan or any type of cheddar would also be great!
Can I caramelize the onions?
Yes, if you prefer a deeply caramelized onion, then you can certainly caramelize the onion before adding to the tart.
Can I make mini puff pastry tarts?
Yes, I love this idea! It requires a little extra work but sometimes it's fun to have mini/individual appetizers. This also makes the tart a little sturdier and easier to eat if you're looking for hand-held foods.
To make mini tarts, roll out the pastry into a large 10x12 inch rectangle, then cut into 6 smaller rectangles. Follow the same instructions in the recipe card, dividing up the ingredients between each mini tart.
Do I have to use French onion dip?
No. The dip adds lots of rich savory onion flavor, but you can certainly skip it if preferred. Alternatively, you can use a different onion dip, such as chive and onion or an onion cream cheese would likely be good, as well.
Can I make it without mushrooms?
Definitely! It'll still be incredibly delicious!
Storage
Store any leftovers in an air-tight container in the fridge for up to 3-4 days.
Reheat in the oven on a parchment-lined baking sheet at 350°F until warmed through and the cheese is melty. You could also enjoy it cold or warm in the microwave!
Make ahead
You can prepare the entire puff pastry up to 2 days ahead of time! Roll out the pastry, transfer to a parchment-lined baking sheet, and add all your toppings. Cover tightly with plastic wrap and then tinfoil to keep the pastry from drying out.
Hold off on doing the egg wash until right before you bake.
More recipes you'll love!
If you enjoyed this recipe, please leave a ⭐️⭐️⭐️⭐️⭐️ rating and a comment below! I'd love to hear from you! If you’re on Instagram, share a picture of the food you created and tag me at Modern Farmhouse Eats! I enjoy seeing all the pictures! 😊

White Cheddar, Onion & Mushroom Puff Pastry Tart
Ingredients
- 1 puff pastry sheet thawed but cold
- ¼ cup French onion dip (I like to use Old Home)
- 1 ½ cups white cheddar cheese shredded
- 1 large yellow onion thinly sliced
- 2-3 baby bella mushrooms thinly sliced
- Olive oil for drizzling
- Balsamic vinegar for drizzling
- Red pepper flakes to taste (optional)
- Salt and pepper to taste
- 1 egg beaten
- fresh thyme for garnishing (optional)
Instructions
- Preheat the oven to 400°F.
- On a lightly floured surface, roll out the puff pastry into a 10x12 inch rectangle, then transfer to a parchment lined baking sheet. Use a knife to score a ½ inch border around all sides of the puff pastry, but do NOT cut all the way through.
- Prick the inside of the pastry all over with a fork.
- Spread the French onion dip evenly over the pastry, staying within the score lines. Sprinkle with cheese, then top with slices of onion and mushroom. Drizzle with olive oil and balsamic vinegar. Season with red pepper flakes, salt, and pepper.
- Brush the edges of the pastry with egg, staying outside the score lines.
- Bake for 20-25 minutes until the pastry is golden brown.
- Garnish with fresh thyme, cut into 6-8 slices, and enjoy while warm!
Nutrition
Nutritional information is automatically calculated by a third party software and is only an estimate, not a guarantee. This information is provided as a courtesy, and you are solely responsible for all decisions related to your health.



Leave a Reply